A bit of fussing was par for the course to create the image above.
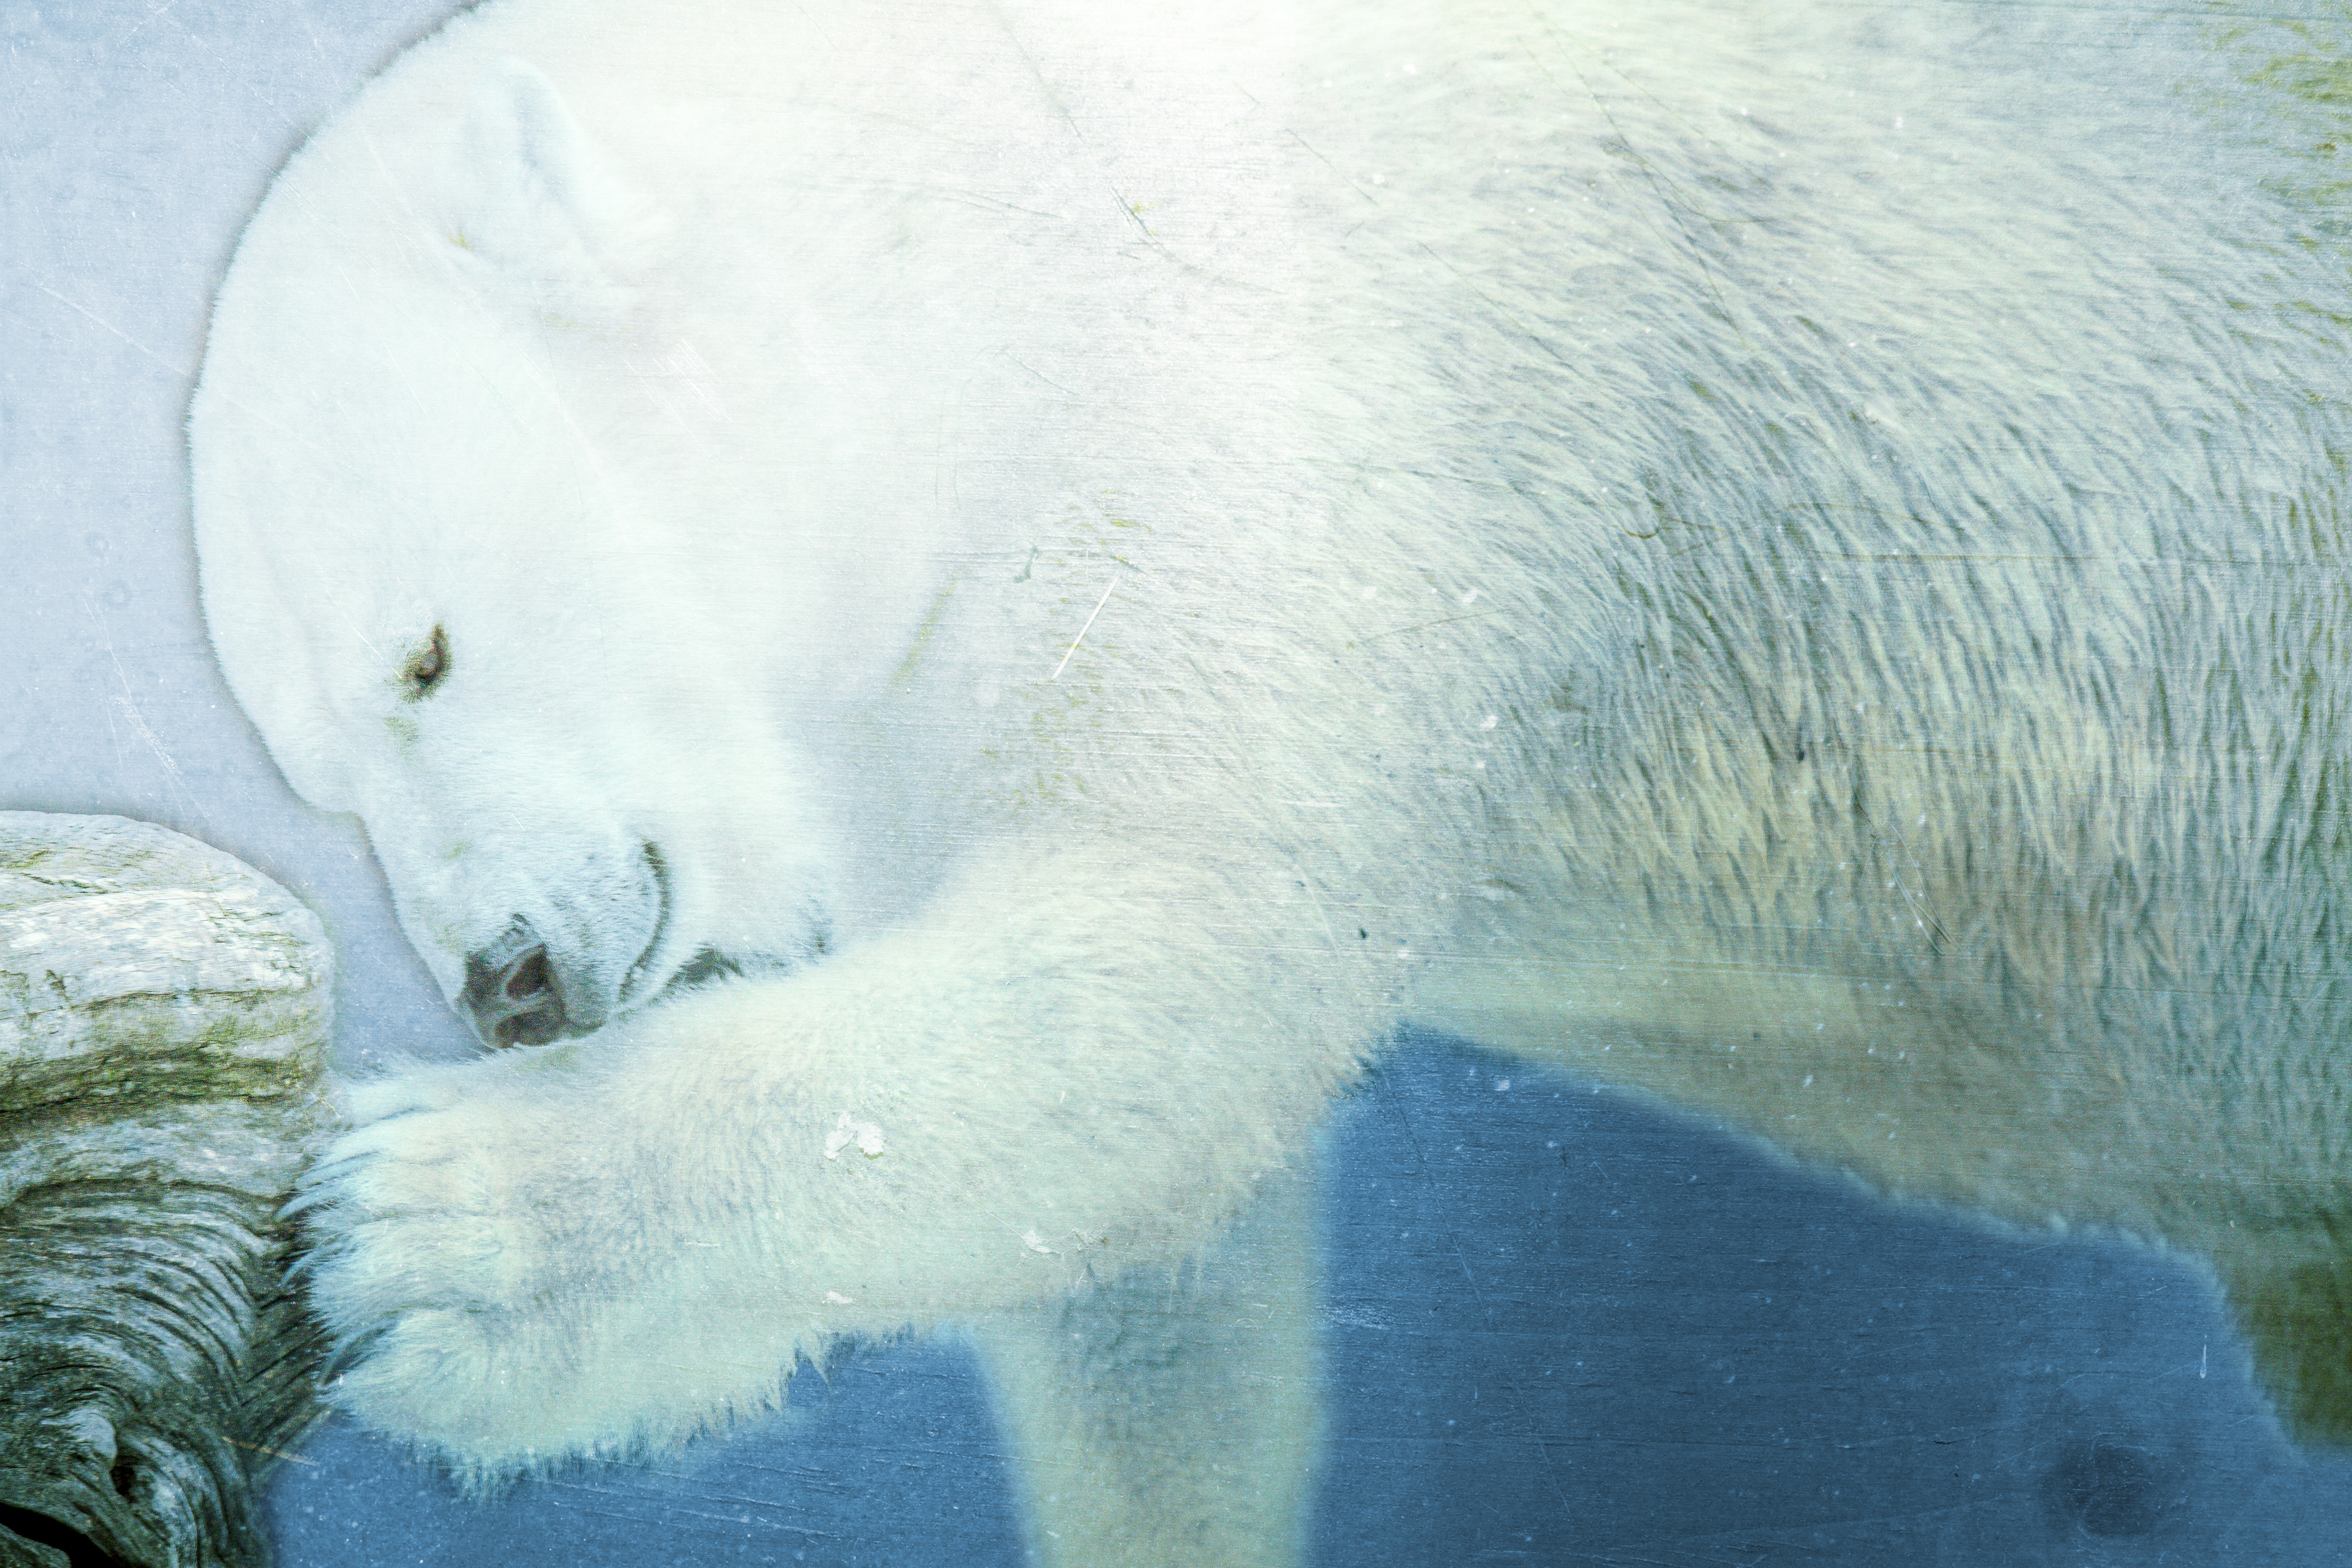
Whenever I visit the Maryland Zoo, one of my first stops is to visit their Polar bears. Each time I’ve gone, they’ve been sound asleep hidden behind a rock or a log. But on this visit, I was in luck as the cool morning kept the bear awake and he was pawing away at the log to sharpen his claws.
With a very unattractive background, I vowed that I would buckle down and finally learn how to change backgrounds and add textures to an image. Especially with animals and birds due to their fur and feathers. You’ve seen the result with Garret and I figured out the blending pretty decently.
But mind you, when it came to the Polar Bear with the background broken up between his legs it was more challenging. Yes, after an hour of frustration the fussing began and I had to close it for the night. But being the dogged determined girl that I am, I had to try it again. After all, thousands of people can do this. Why can’t I?
This confirmed my suspicions that using Photoshop Elements version 13 (version 14 now available) can provide you the basic tools that the full blown Photoshop program can offer. Mind you..I said BASIC. If you’re a true creative behind a computer screen, there is nothing that can match the creative options PS6 can give you.
My preference in working with an image is no more than 5 to 10 minutes. Less is better for me and I like showing what I saw when I captured the scene. But I do like to remove spots and some unwanted elements in the image by using the cloning or content aware features. And now I can officially add into my tool box the ability to change backgrounds and textures.
Granted, it’ll take practice to really be good at it, and it’ll take time to add to my background and texture portfolio. Having the right background and texture that compliments your subject is crucial to making a beautiful image.
But you’ve got to love the internet as there are multiple videos on youtube that show you how to do this, and there are photographers on Flickr that are generous to share their textures, mostly under a limited license. This is the short video I used for reference to add a texture.
The original image is this one. I’ll keep playing with my Polar Bear as it’s not perfect and the texture isn’t quite a perfect match. But hey..baby steps right?

Categories: Nature, Photo Tips


I think this is a great effort. It looks really good to me. (Aren’t they amazing animals).
Love polar bears Miriam. I didn’t show the iphone shot I took later. He went to sleep with his butt on the glass. Two kids sat down right behind him, it’s hilarious. Just a piece of glass separating them from the bear’s butt. 😉
That’s absolutely priceless.
I love your finished image. The first thing to learn in Photoshop is that you don’t go for perfect, you go for the look that you want that’s believable. You pulled this off beautifully!!!!
You are so sweet Ali. I know you’re an expert with Photoshop, so means a lot coming from you. Thank you!
Well I’m impressed 🙂
Progress is not about how fast, it is about not giving up, or quitting; it does look like you are getting where you want to be.
I certainly am trying Charlie. I’m still trying to create the artist in me. Still a bit elusive.
Hi Bella,
I like what you did with the picture. To my mind, the result looks quite like a painting.
Have a great weekend,
Pit
That is awesome Pit. Thank you so much for taking the time to comment with your thoughts. It helps me so much.
I also love your rendition, it looks like it was painted. I had to giggle when you said your first stop is to see the polar bears. That’s where my 4 yr old grandson wants to go first; in fact, he knows exactly where they are, I just follow! 🙂
Smart grandson I’d say Donna! Thank you also so much for your feedback. These comments really do help me in knowing if I’m heading down the right path or not.